Stardew Valley: The Mine
Exploring the Mine & Mining to Find Metals
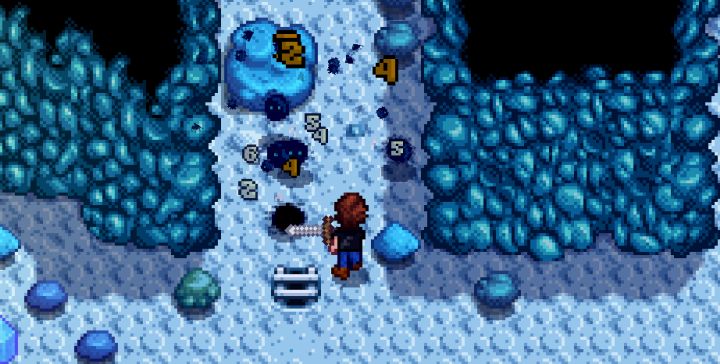 Coal is needed heavily in Stardew Valley and easily acquired in the mines. You can eventually head to the 40s-50s and fight dust sprites to farm massive amounts of it. It's otherwise found randomly when mining and from mine carts.
Exploring the Mine is nearly essential to getting the best objects in Stardew Valley. You'll miss out on crafting opportunities and great items that can improve your farm at home. The mines open up on day 5, when Jojo Mart blasts the rock that was blocking the entrance. From there forward, you can explore the mine to raise mining, get crafting materials, and battle monsters to raise your farmer's combat skills. This guide to mining will teach you nearly everything you need to know to be successful in the mines, and how the mining skill is raised. We'll also touch on how to access the Skull Cavern.
Getting to the Mine
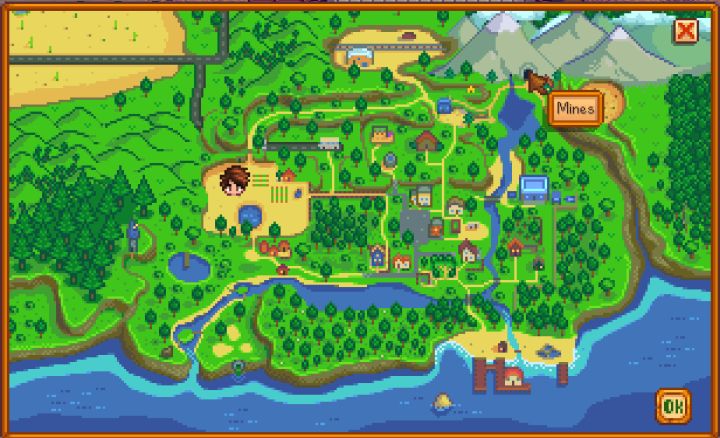 The mine is located here. Detailed instructions for finding it are below. Though it's not hard, there is a fast route to take.
Use the north-central exit of your farm to get to the mines faster. Head east, down the cliff and around the tent. There the bridge to the mines and adventurer's guild is located. Once inside, you will be greeted by the head of the guild, who will give you a sword that you can use to protect yourself. The only thing you can do to go forward is take the ladder down into the mine.
Mine Basics
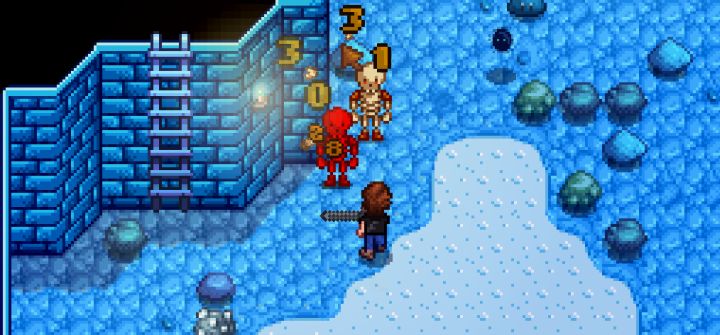 You'll have to fight in the mines, while also managing your energy level, so come prepared. Bring food to heal yourself. The saloon sells some meals if you do not have good fruits/vegetables or cooking ability of your own.
The Mine is spawned randomly each time you enter. There are various biomes in the mine, based on the depth. The random spawning means that you can return to levels and find both monsters and rocks are back, so that you can always farm them. This is especially helpful as certain enemy types, ores, gems, and crystals are only found in certain level ranges. You can go back to a lower level and fight your way forward again so that you can collect, for example, copper, when you need more of it but are now finding mostly iron.
Each 5 levels of the mine, you'll come to an elevator that you can use to return. As you progress deeper, monsters become more challenging and the rate you find certain metals - like copper, iron, and gold - increases. You still need to be home by 2 AM or you'll collapse (whether energy is low or not) and lose some gold for the trouble of the person who saved you. Should you be knocked out by a monster, you'll lose some items (which may be mailed to you a day or two later), along with gold. So it's always a good idea to leave by around midnight, and carry some food so that you can both replenish your energy and health.
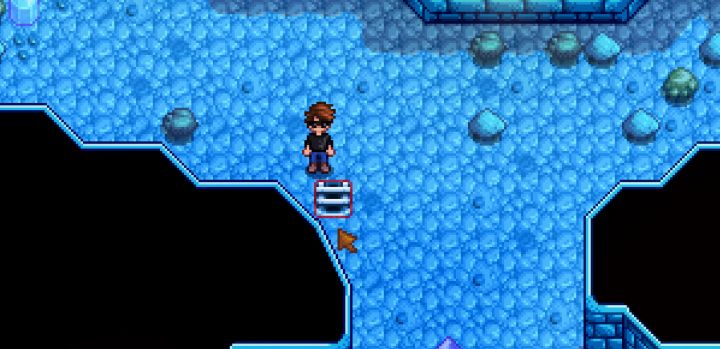 You could find the exit anywhere. Sometimes it already exists, sometimes it's under a rock or barrel. Enemies may also spawn an exit.
The ladder to the next level of the mine is spawned randomly. It may be beneath any of the rocks, or spawned by killing a monster. At times, the area will have a fog and you'll hear monsters approaching. From there you need to kill the monsters in order to spawn the exit. Try to get them all on one side of you, and use a sword for its wide attack animation. You can hit a full 180 degrees with a sword or club, so they are usually preferred over daggers.
Level Up The Mining Skill
The mining skill is leveled from breaking open stones, ore and gems you find in the mines. Naturally, the more valuable the gem or ore, the more mining XP you will gain for it. Gaining levels in the skill makes use of the Pickaxe more efficient, reducing the energy consumption of a swing. Upgrades to Pickaxes make a bigger difference, but you can have both. Getting mining levels is mainly about unlocking the crafting recipes and the profession choices you get at level 5-10 (see below for Miner vs Geologist and my thoughts on it). You will level mining much faster by going in the mines vs using it on your farm. Mining with bombs does give skill experience but you may want to stockpile those for the Skull Cavern. Picking up the stones/metals is what provides the skill XP, as with farming.
Miner vs Geologist
You pick from Miner or Geologist at level 5, and this determines the two picks you get at level 10. These are just my opinions, you will not go wrong by selecting something different but note that Gemologist and Blacksmith are not very helpful in the long-run. Most of your money will come from crops and crafting.
Miner (Level 5)
Ore veins yield +1 ore.
- Blacksmith (Miner Level 10) - Metal bars are worth 25% more.
- Prospector (Miner Level 10) - Coal find doubled.
Geologist (Level 5)
Gems have a chance to spawn in pairs.
- Excavator (Geologist Level 10) - Geode find doubled.
- Gemologist (Geologist Level 10) - Gems are worth 30% more.
Better Choice: I personally don't consider mining to be a money maker, so boosting gem and metal bar values are worthless to me. Because of that, and that ore can be bought, Geologist seems to be the better pick because of Excavator. Finding more coal may be useful, but it can be crafted and farmed from the dust sprites around level 40-80 in the mine. You can find all kinds of nice things inside geodes, so Excavator's kind of a grab bag that may result in some great finds and will help you to have more gifts for residents of Pelican Town.
Mine Depth & How to Find Metals
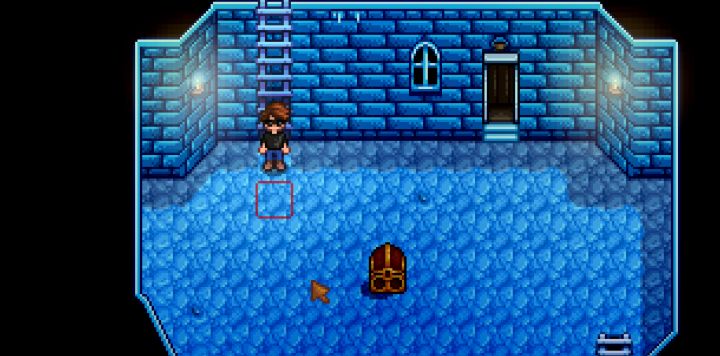 Treasure Chests are found nearly every 10 levels, resulting in some handy items. Note the ladder up - you can click that to leave the mine. The elevator can take you to any level ending in 5 or 0 that you've already visited.
The mine is home to three types of Metals - Copper, Iron, and Gold. These three can be smelted into Metal Bars (see the guide to Getting Copper). What you will find and where depends on the depth. As you go deeper in the mine, copper will appear more frequently, then phase out as iron becomes more prevalent. Lastly, you'll begin to find more and more gold as you go deeper. This process is the same for crystals and gems you may find in the mines.
- Finding Copper - Available initially, just rare. Ramps up in availability as you proceed to the 20s and 30s.
- Finding Iron - Available from level 40+, it will get more common in the 60s and 70s.
- Finding Gold - Available from level 80+, it is most common when you pass level 100 of the mine.
The mine has 120 levels. After most 10-level increments, you'll find a treasure chest with a useful reward - such as boots, weapons, slingshot, etc. I won't spoil it by listing them all, because they're mainly gear and you can find other stuff as you continue spelunking.
How to Go to The Skull Cavern - A Harder Mine
Once you reach level 120, you'll get a Skull Key for the Skull Cavern. This can let you access the harder mine in the Calico Desert, but only if you have previously done the Vault Bundle in order to get the town's bus up and running again (bus stop repair reward). This requires quite a bit of gold so it's something you'll be able to do early. You must complete a few bundles before this option becomes available in the Community Center.
The Skull Cavern is different from the Mine. There is no elevator, so you'll always start on level 1. As you progress, the odds of finding Iridium Ore increase. This is the best metal in Stardew Valley as of 1.07. It is best to move quickly down the levels if your goal is to find a number of Iridium. The progression is similar, only there are now holes you can jump through to take you more than 1 level down.
Pickaxe Upgrades
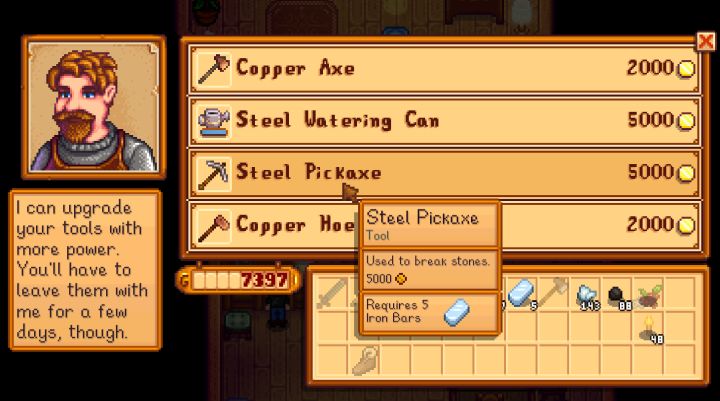 Take some gold and bars of copper/iron/gold bars and speak to the Blacksmith. He can upgrade your Pickaxe for you, which reduces the hits needed to smash a rock and conserves your energy.
Don't bother upgrading your pickaxe unless you know you won't go to the mine for a couple days. It takes 2 days to get it back. You need to take 5 metals bars of the next ore (starting with copper) along with a few thousand gold to the blacksmith on the eastern side of Pelican Town. You must upgrade in that order - from copper to steel (iron) and gold. This means you need to smelt the ore into bars yourself, using a furnace. See my Smelting & Getting Copper Tutorial for now to do that.
Better Pickaxes result in faster and more energy-efficient breaking of stones and ore veins. It knocks a couple hits off of each when you do an upgrade. Getting a Steel Pickaxe will let you break the barrier in the mine entrance, allowing you to talk to the Dwarf. A Gold Pickaxe is required in order to mine meteorites that land on your farm. Iridium Pickaxes are not that important, but nice for conserving energy when exploring the Skull Cavern.
Tips for Exploring the Mine in Stardew Valley
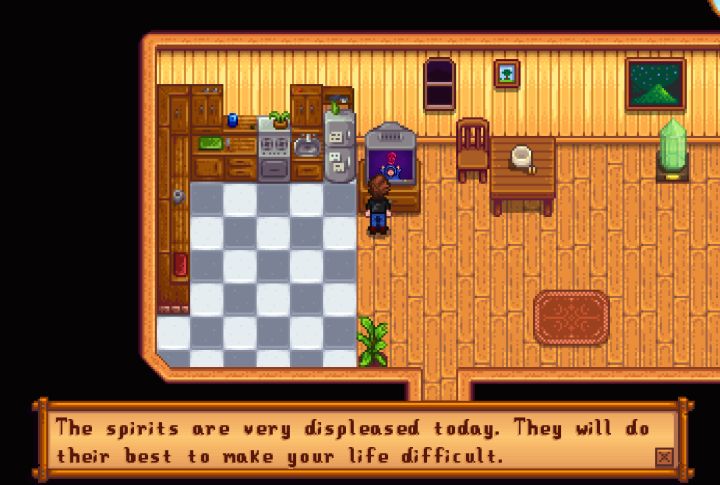 Luck factors heavily into when you should go mining. It's not useless on a bad luck day but you'll find items much more frequently if the spirits say you're lucky. This affects item drop rates.
- Bring a Stack of Food - You can buy food for healing at the saloon, or else bring your own vegetables. At least 5 quality pieces of food will help, but even more is better. Food can be pretty efficient at restoring energy and health. You will eventually be able to cook your own from your produce using the house upgrade Robin provides.
- Increments of 5 - Because of the increments of 5, and most players' desire to get to lower depths for better items, try to make it 5 levels on each trip to the mines. This means leaving as early as possible and staying at least until you get the elevator on the next 5th or 10th level activated. They activate automatically when you reach that level.
- Use the Ladder to Leave the Mine - The ladder back up to the previous stage can be used at any time. You can use the ladder to escape tough enemies, or else just conclude your mine run when it's getting late. You'll be teleported back to the entrance whether you do this or use the elevator and select level 0. Because of this ladder, try to get to the next level if it ends in a 5 or 0 so that you can unlock the elevator and immediately leave the mine if you need to do so.
- Combat Experience - You'll gain combat XP from killing monsters in the mine. If you find yourself struggling, you probably need some more experience both as a player and via your character. Each level raises your max health, and at level 5 you get to choose between two Professions.
- Weapons - Combat experience is helpful, but not as helpful as a good weapon. Weapons don't drain energy when swung. You can find weapons in the mines sometimes, but also get membership with the adventurer's guild (house east of the mines) so that you can buy weapons from them! This is especially true when you start encountering monsters you can only deal 1 damage to - you're meant to have a better weapon to kill them. Try to go for faster weapons as a new player, so that you can knock the monsters back. Bigger, slower weapons are not bad but require more precise timing.
- Combat Tip - Crowd Control - Your weapons will knock back enemies. This lets you control their positioning. Get them up against a wall, and you'll be able to spam attack them. Also, sometimes it's worth walking through an enemy even if you take a hit, so that you can have multiple enemies on the same side. This protects you. Being surrounded is no good!
- Watch for Mine Carts and Satchels - Mine Carts and Satchels may randomly spawn. The former will have tracks leading up to it, and when right clicked may provide around 10 coal. Satchels can do similarly, just pay attention and click these to spawn the loot!
- It May Get Dark - Bring Torches! - You will come to a point around level 30-39 where the mine gets dark, but only for a while until you reach a new area. Torches are helpful to staying safe and finding loot. You can craft torches using wood and sap from the crafting tab on the menu.
- Luck - Every enemy can drop items in the mine. Visiting when you're having good luck - known via watching the Fortune Teller on TV - will increase these odds. You should watch the show to know when your luck is high. Don't skip a visit to the mine just because of bad luck. It's just worth noting it will increase drop rates when your character is having a lucky day.
- Pattern - When you first hit a level, look around for anything you can pick up, monsters to kill, and metals to mine. Don't bother wasting energy and time on normal rocks when you don't have to. Do these things first as in the process of killing a slime or bat you may find an exit. You'll then know it's safe to leave that level and no valuables are left behind.
- Save Bombs - you need these to kill mummies in the Skull Cavern and the bigger bombs do a lot to help you progress swiftly through this harder area.
- Finding the Exit - Exits spawn randomly. It may be from a monster kill, or under a rock. Multiple exits are possible in any given level.
- When there's no Hole to Exit - Staircases - With just a couple mining levels, you will learn to make staircases. These take 99 stone each, but can be used to place an exit to the next level in the mine. It's not commonly needed, but a nice helping hand when you have tons of stone and want to progress faster in the mines.
